Remodeling Process
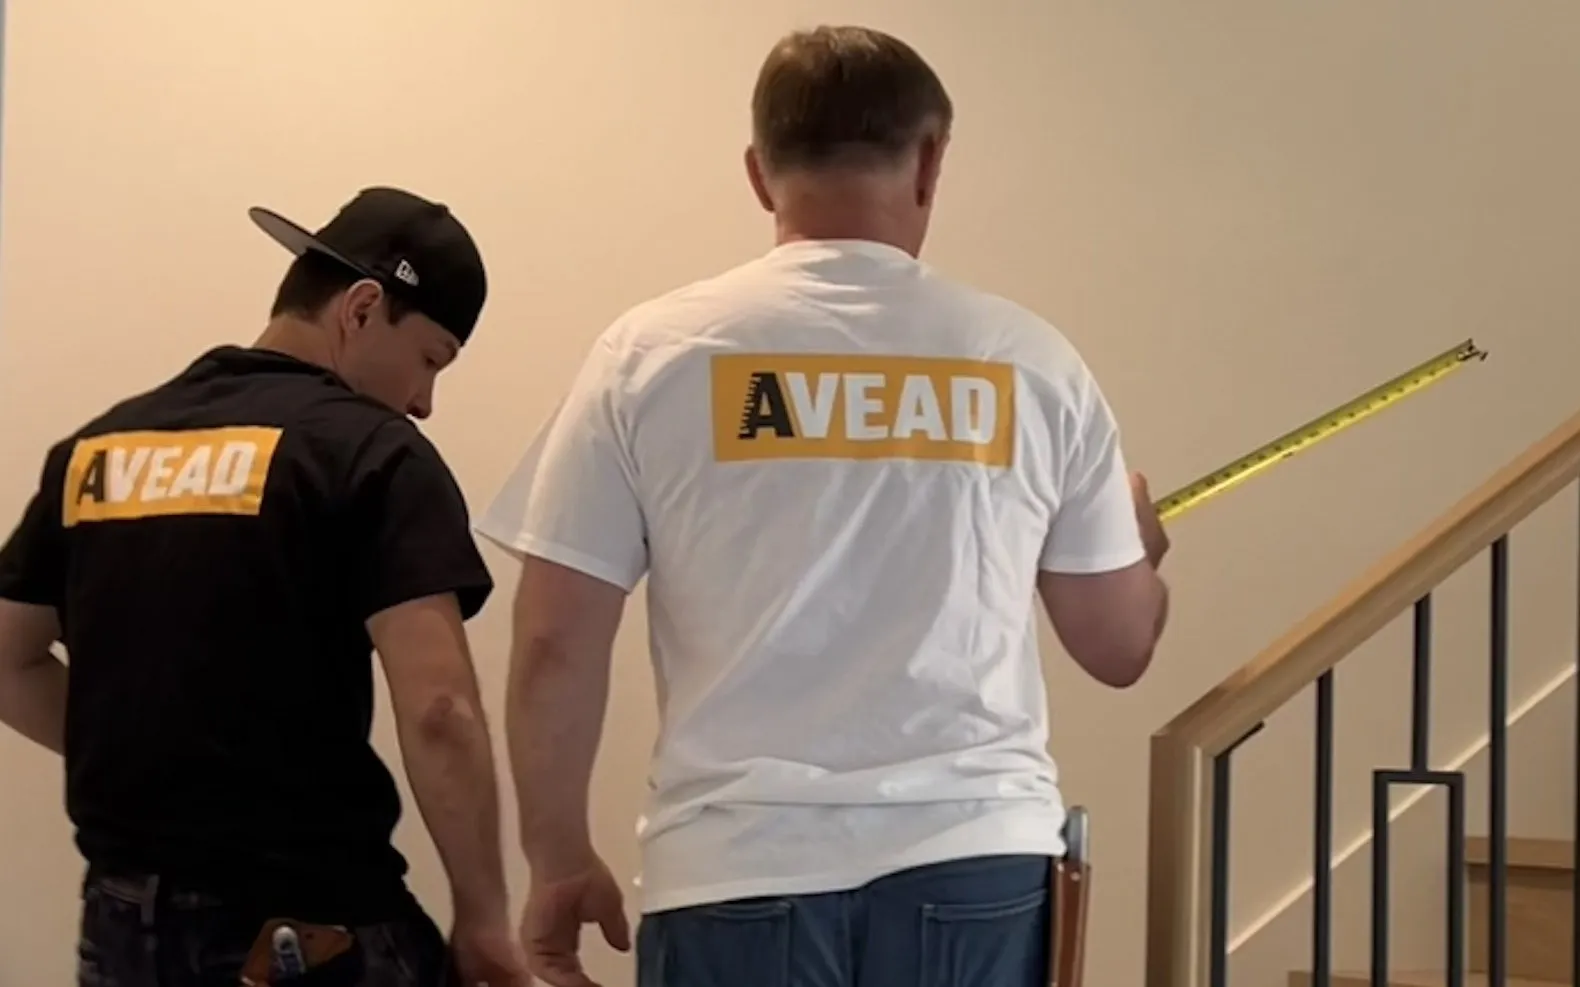
Request an Estimate
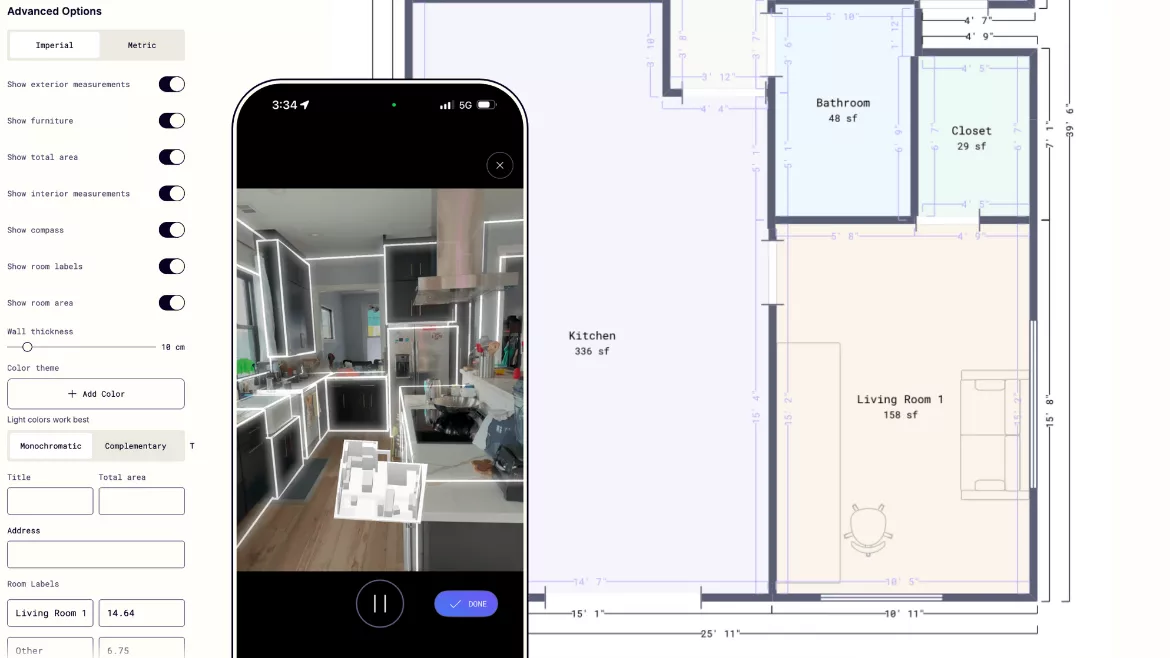
Scan Your Project
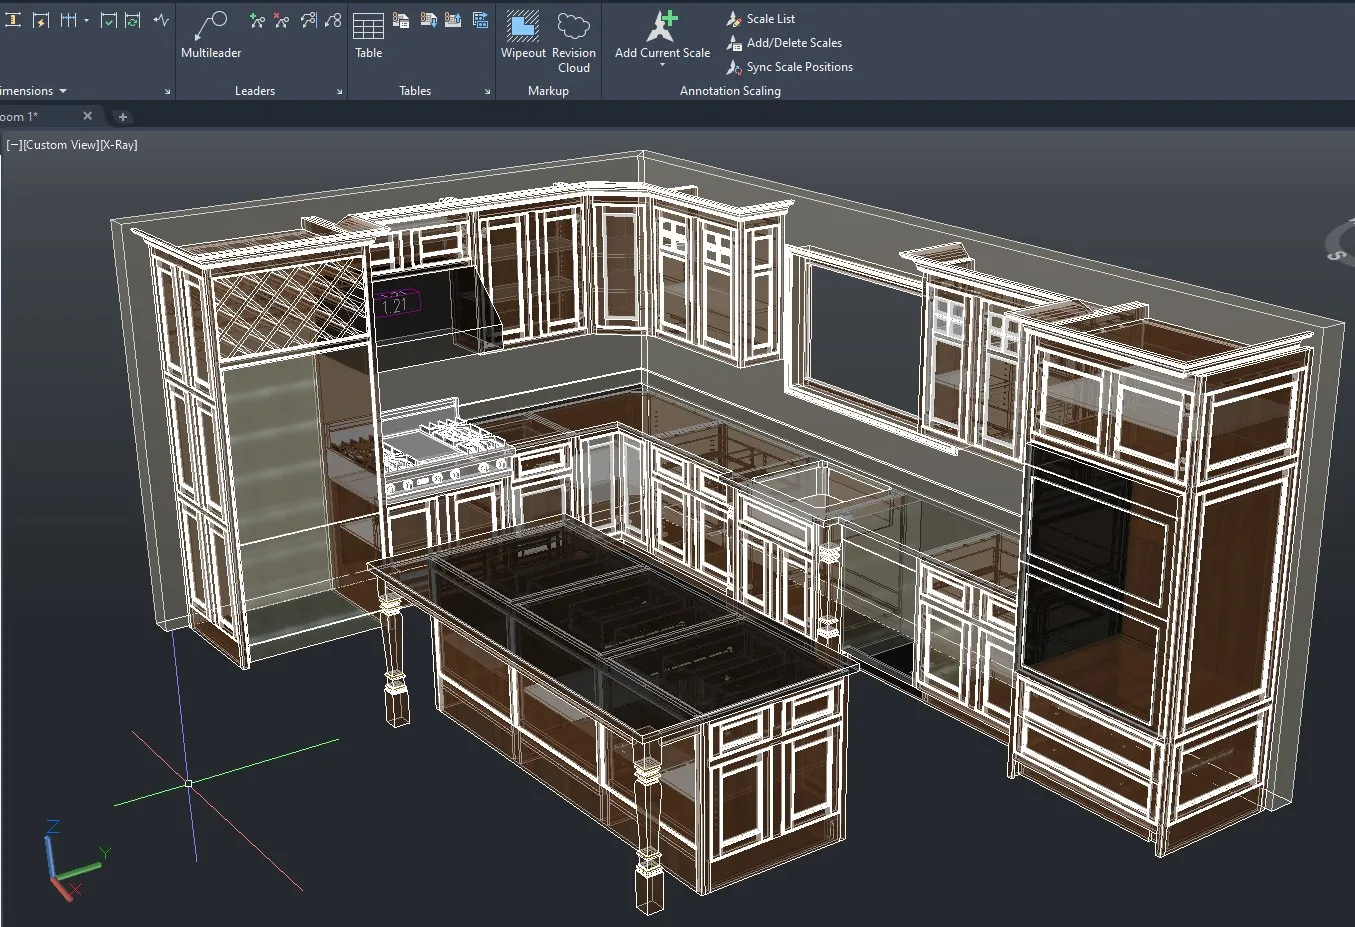
Tailored Remodeling Designs
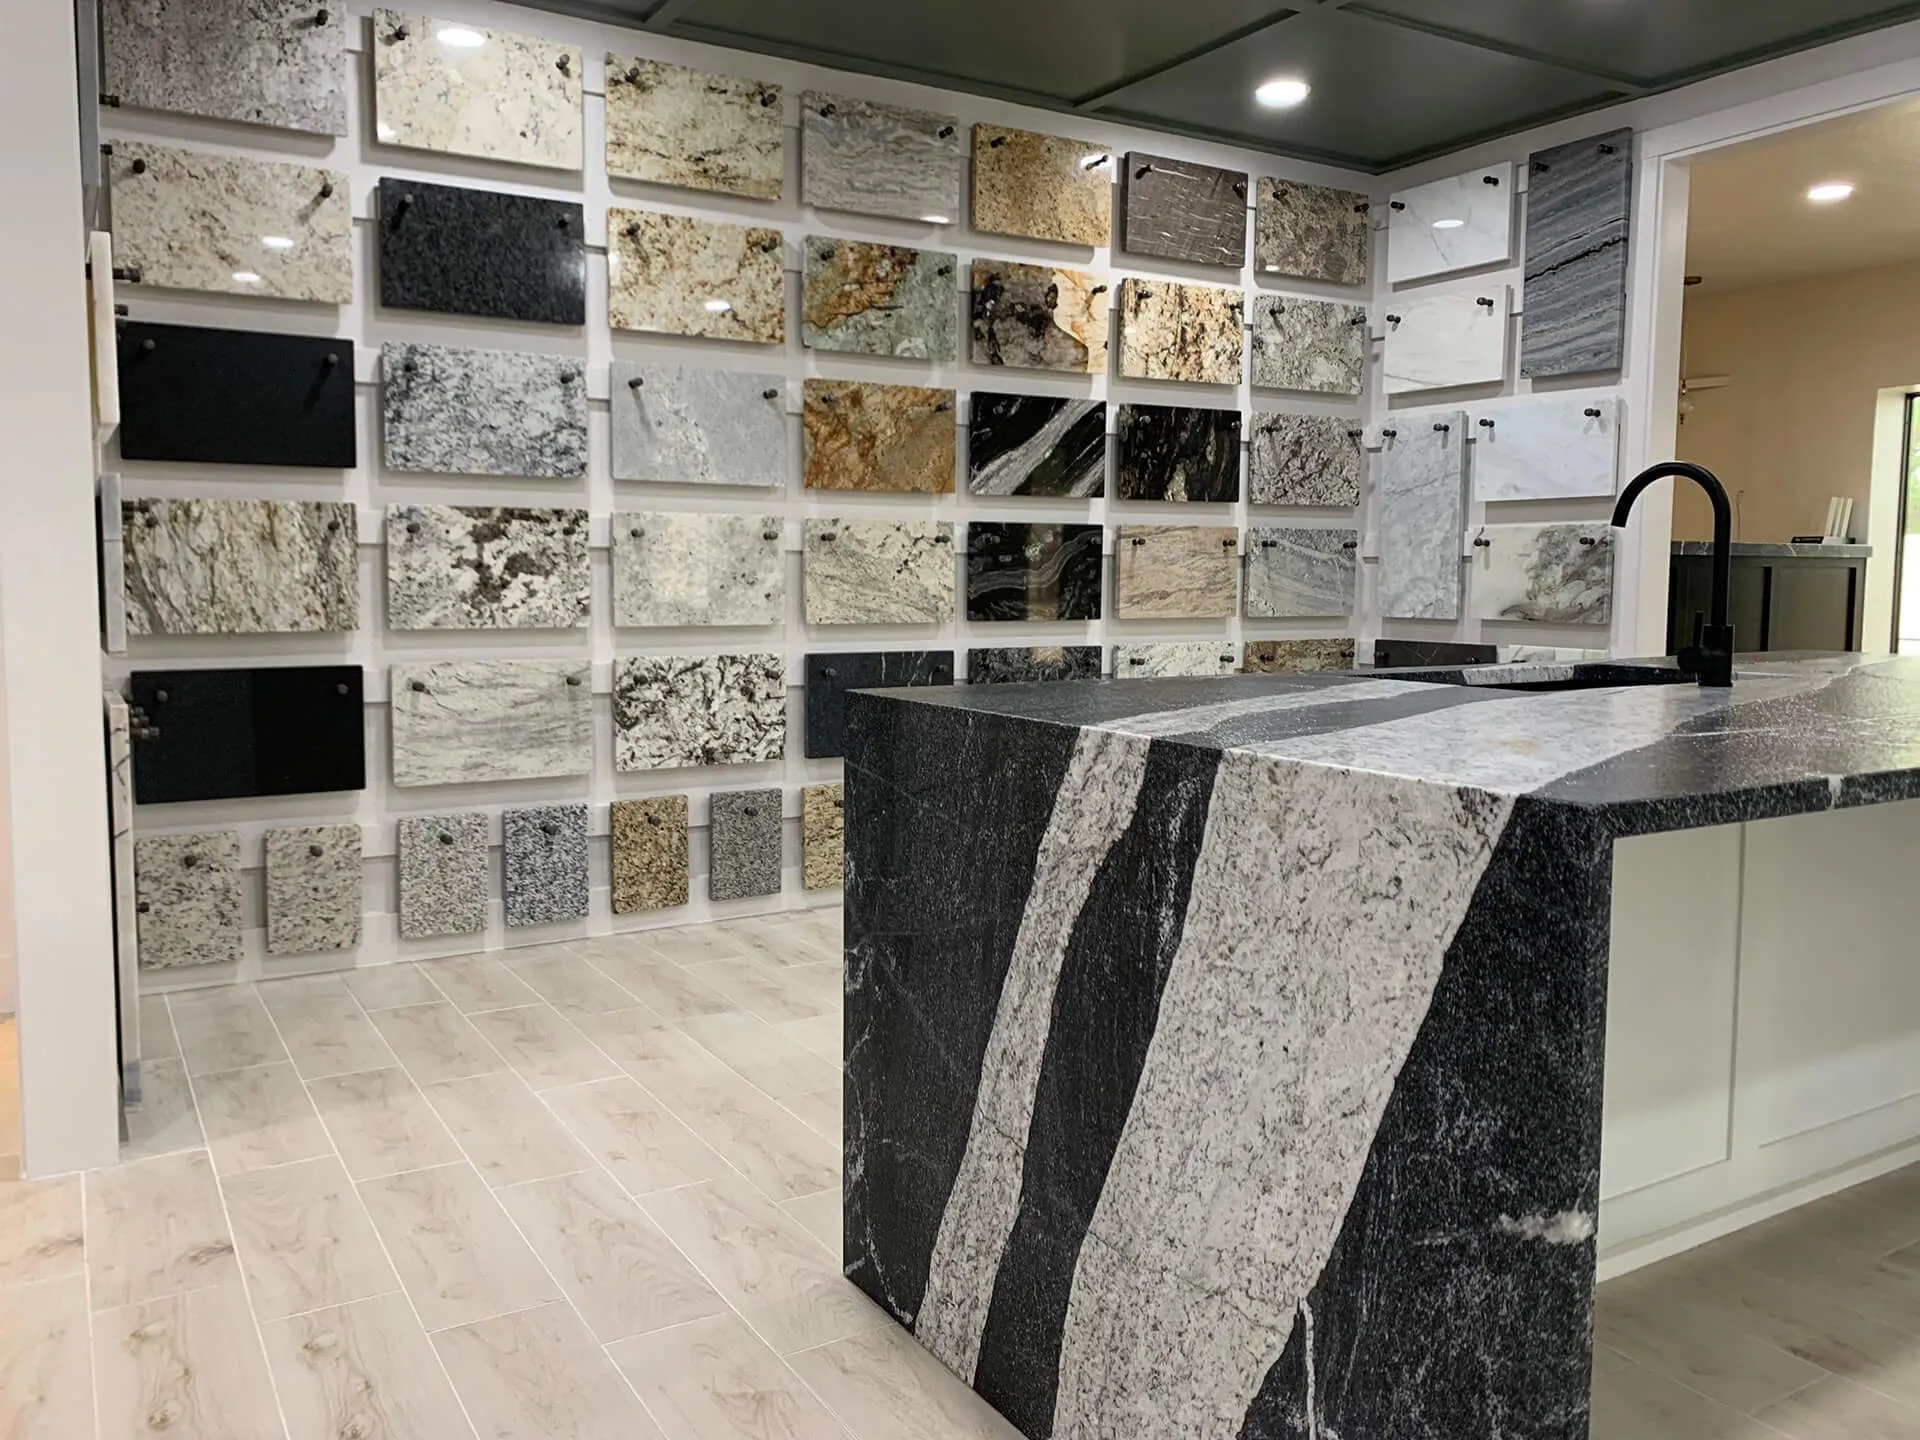
Select Premium Materials
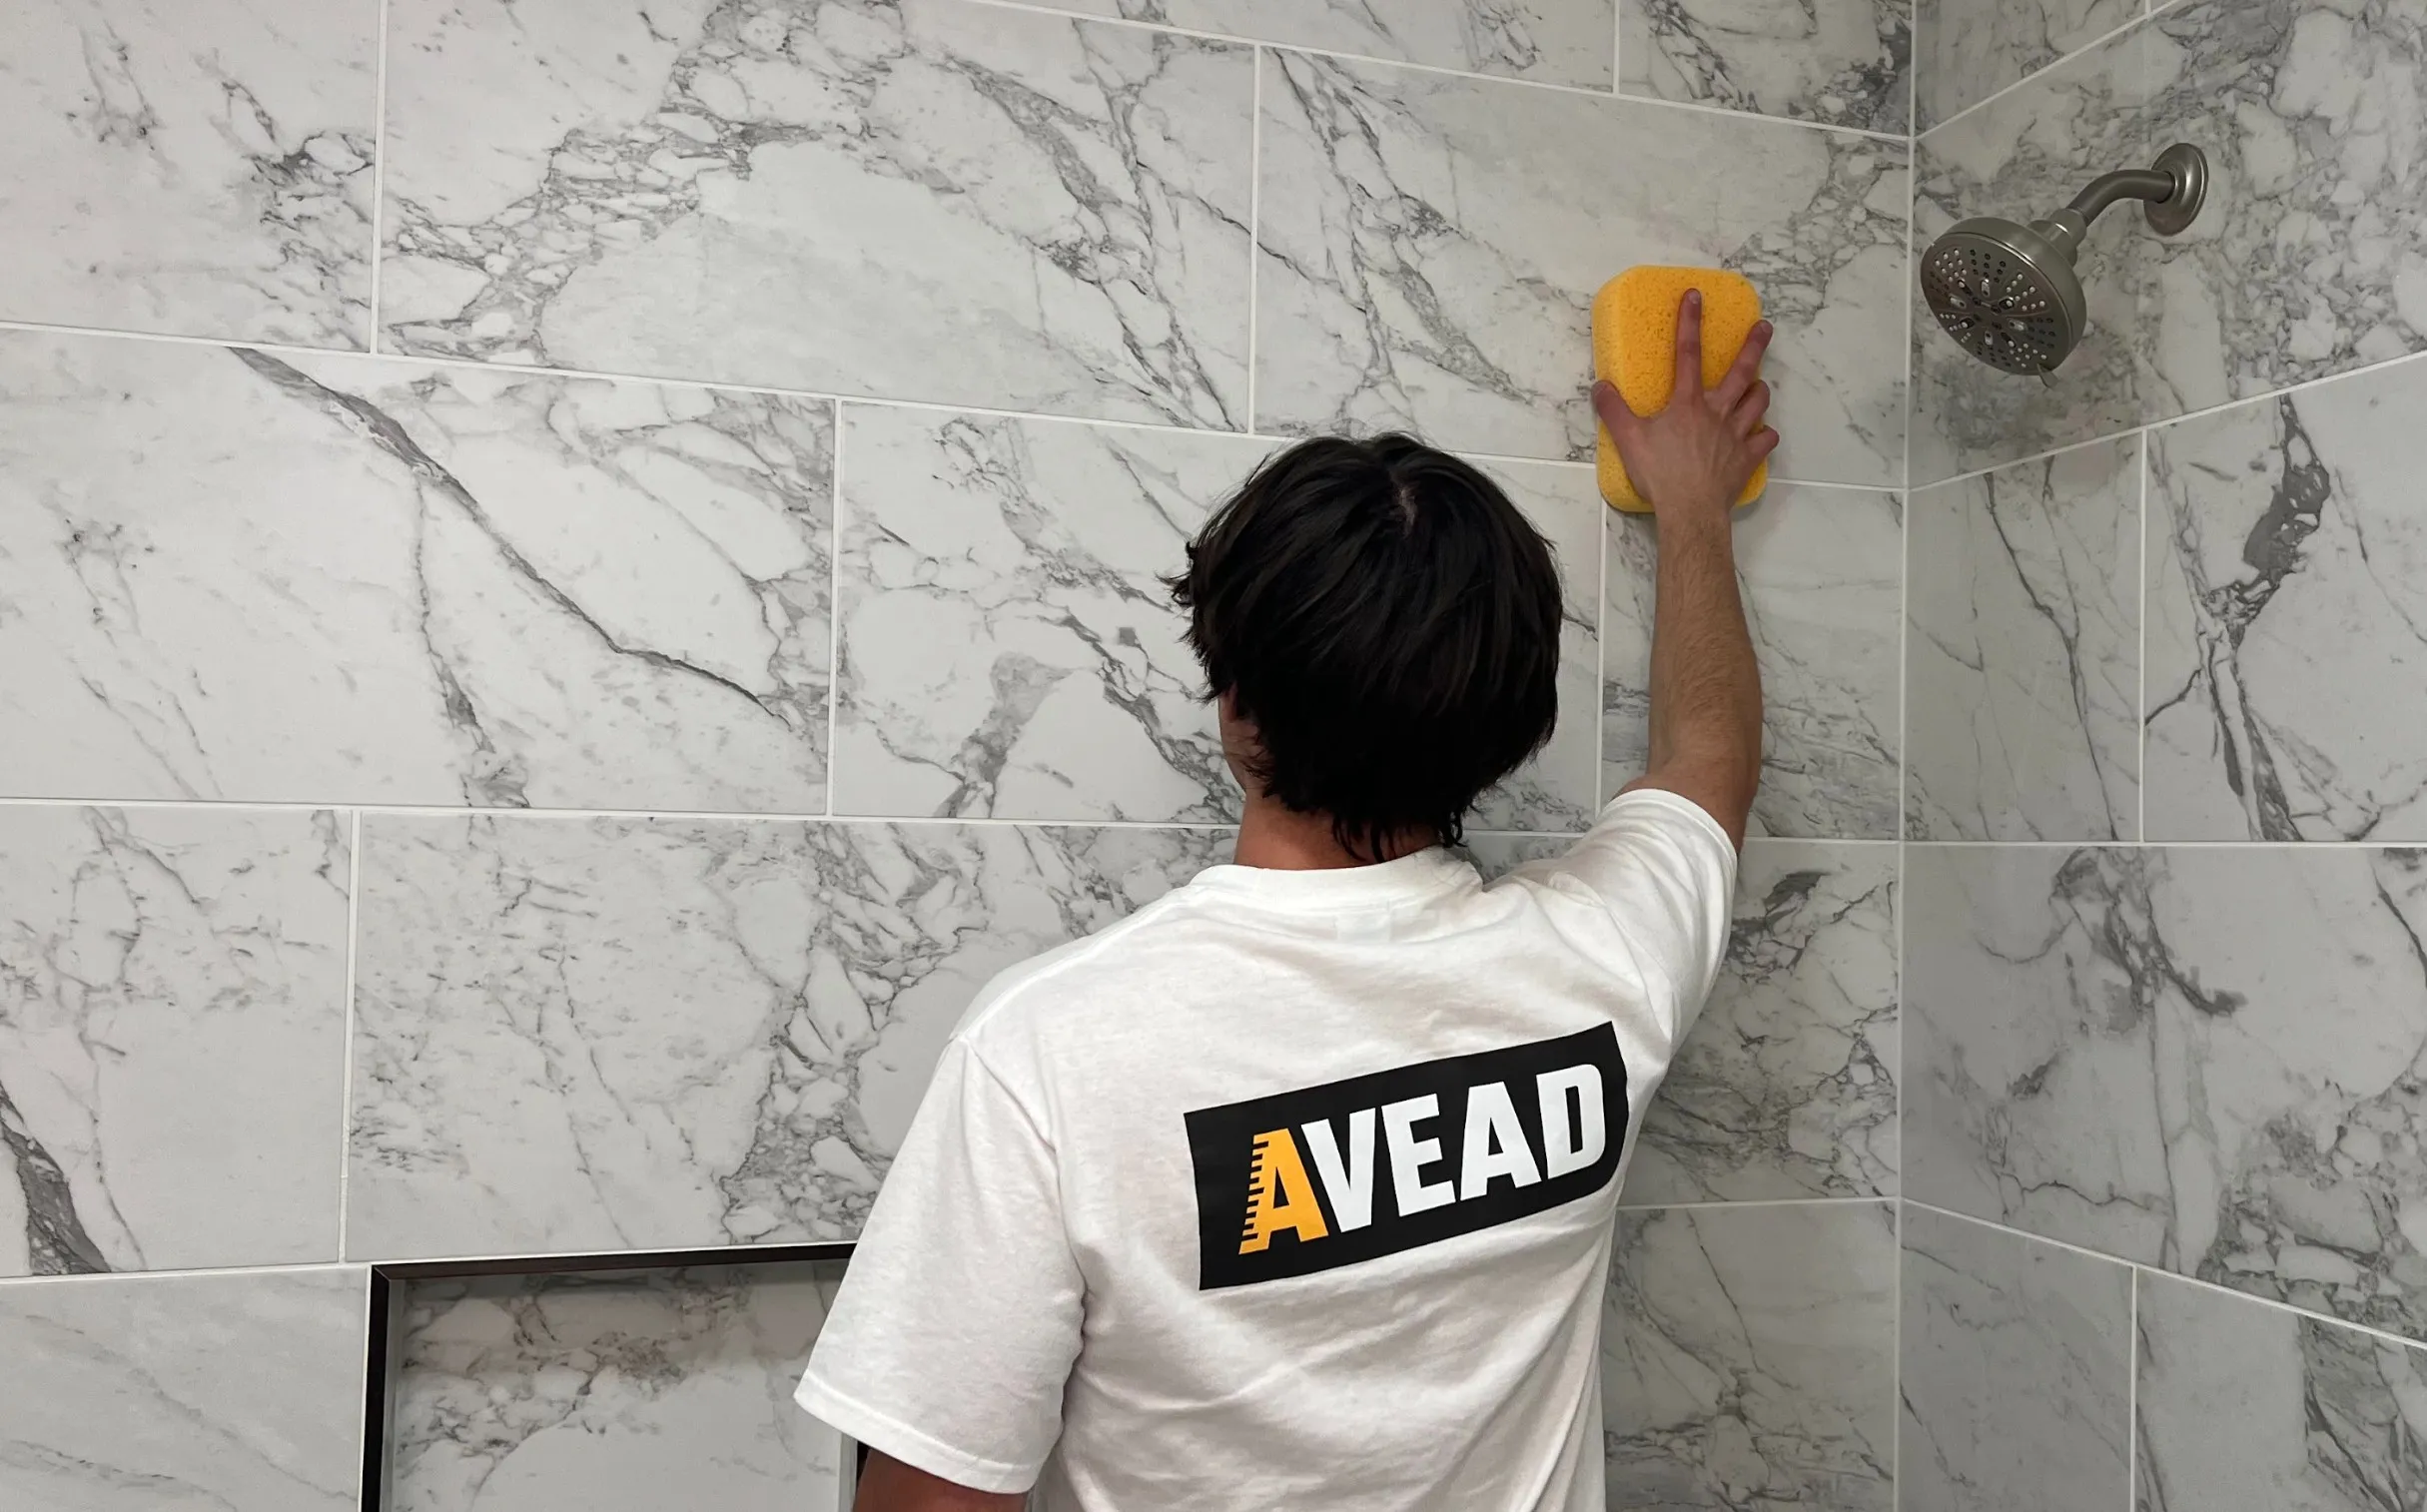
Prepare Every Detail

Build a Solid Foundation
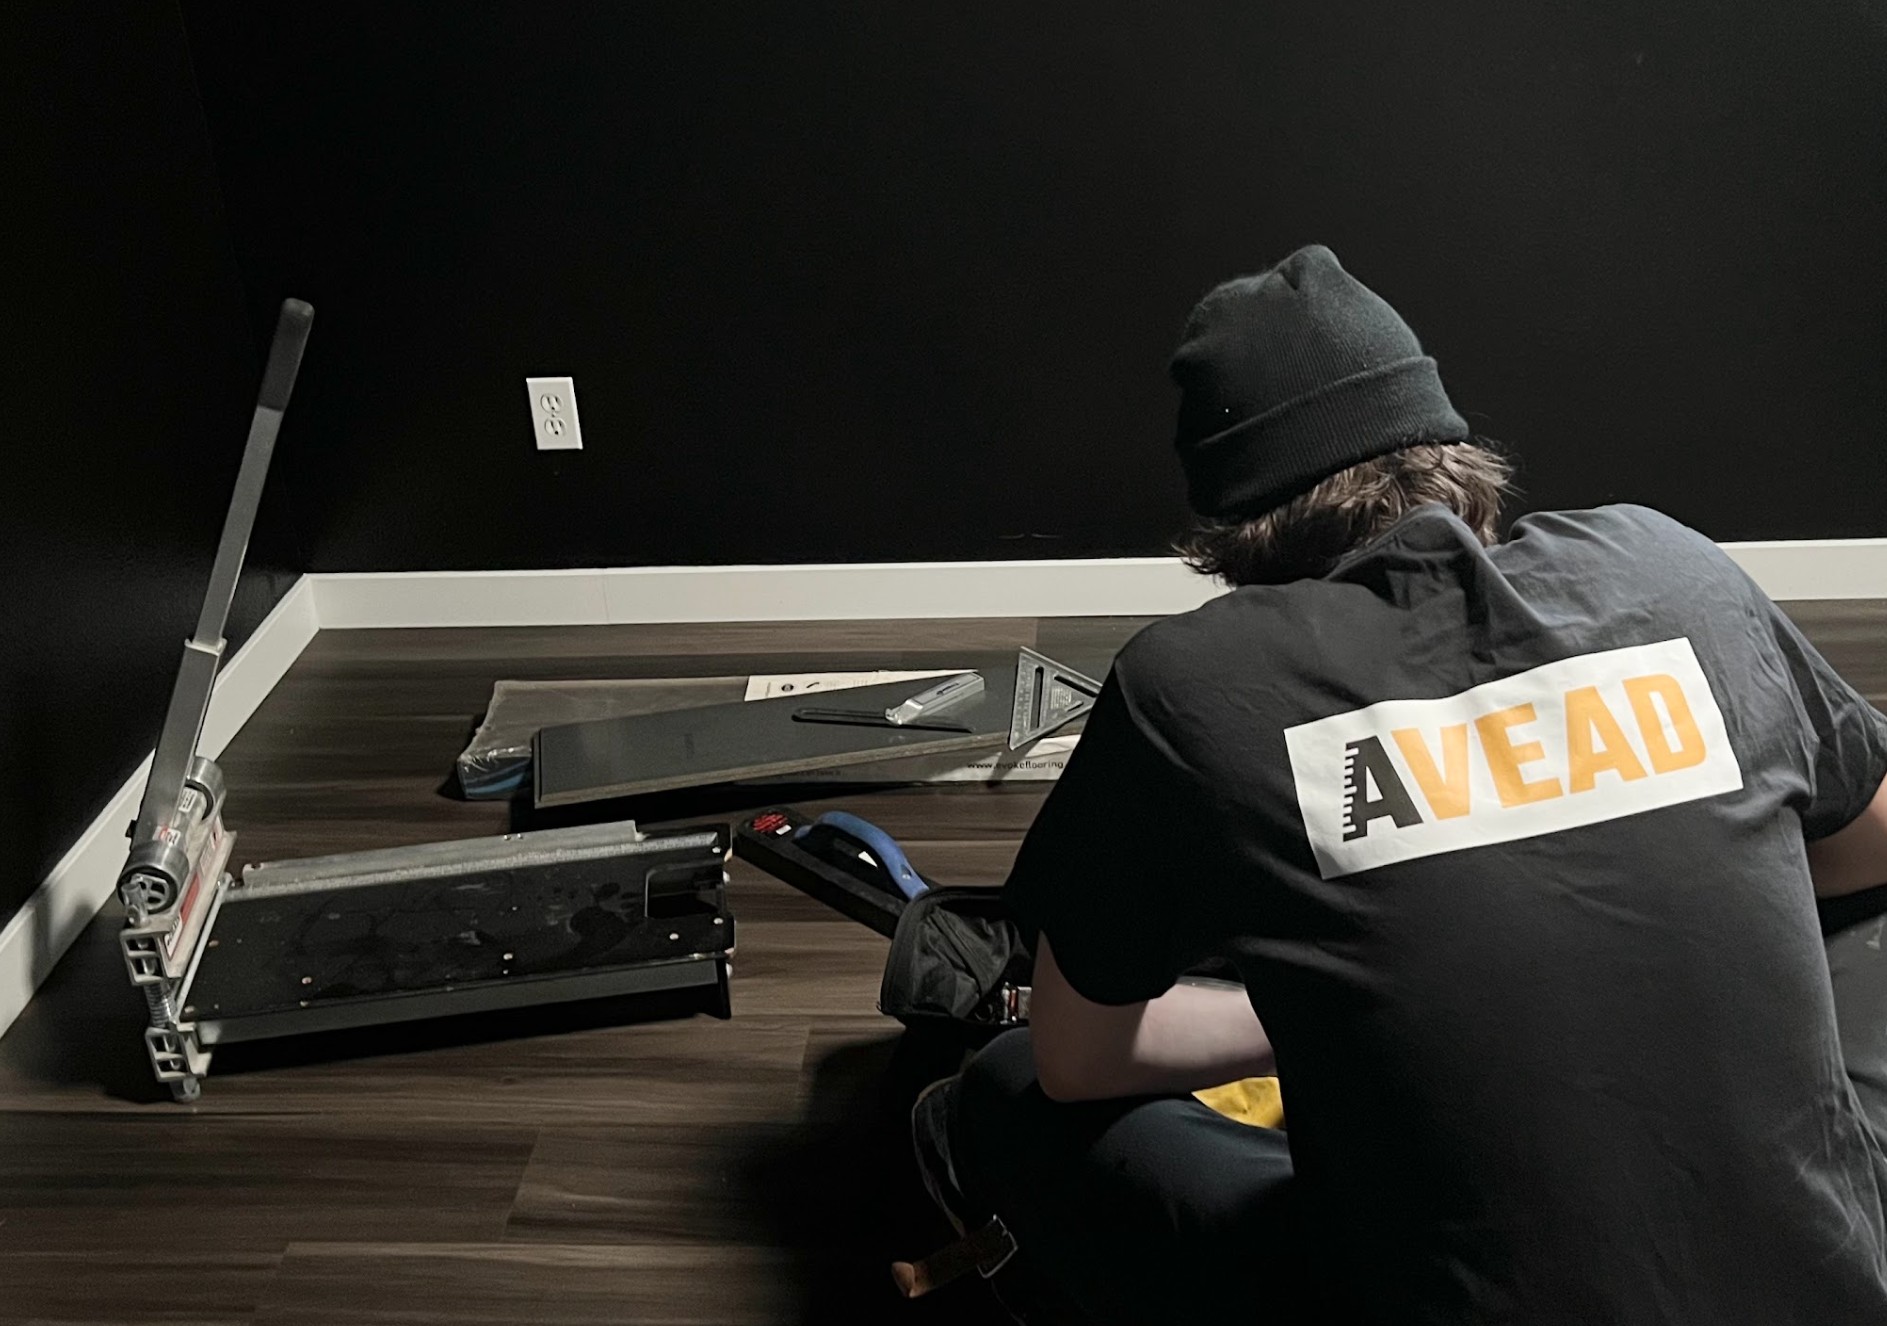
Build a Solid Foundation
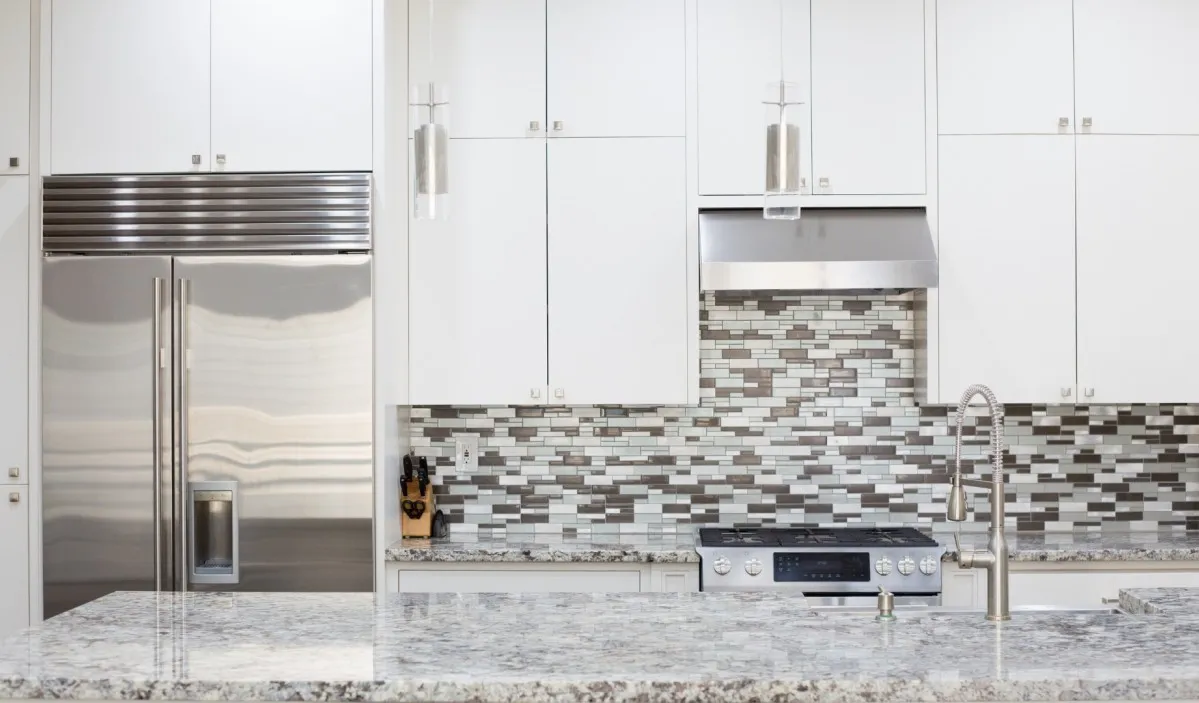
Guaranteed Peace of Mind
Frequently Asked Questions
The timeline for a home remodeling project depends on the size and complexity of the work. Smaller updates, such as bathroom or kitchen remodels, can take 2–6 weeks, while full home renovations or additions may take weeks to months. At AVEAD Construction, we create a detailed project schedule during the design phase to ensure transparency and on-time completion.
Yes, most home remodeling projects require permits — especially if they involve structural, plumbing, or electrical work. As a licensed and bonded general contractor, AVEAD handles all permit applications and inspections for you, ensuring your remodel meets local Bellevue building codes and safety standards.
In most cases, yes. Many homeowners choose to stay on-site during smaller remodels like kitchens or bathrooms. For larger renovations or full-home remodels, it may be more comfortable to relocate temporarily. Our team takes special care to maintain a clean, safe environment throughout your project, using dust barriers and daily cleanups to minimize disruption.
We start every project with a transparent, itemized estimate and no material markups. During the design and planning stage, our team helps you choose high-quality materials that balance aesthetics, durability, and cost. We also provide 3D design renderings so you can visualize your remodel before construction begins — ensuring your investment aligns perfectly with your vision.
AVEAD Construction stands out for our craftsmanship, communication, and commitment to excellence. We’re a licensed, bonded, and insured remodeling company with over 20 years of experience in the Bellevue and Greater Eastside area. Our process combines modern design, efficient project management, and a 5-year workmanship warranty, giving you peace of mind from start to finish.
The cost of a home remodel depends on your project’s size, design complexity, and material selections. On average, homeowners invest $75,000–$250,000 for full home renovations, while kitchen remodels typically range from $40,000–$125,000, and bathroom remodels from $15,000–$75,000. At AVEAD Construction, we provide transparent, itemized estimates with no material markups and multiple design options to fit your budget. Every project begins with a detailed consultation and 3D design, so you’ll know exactly what to expect before construction begins.


